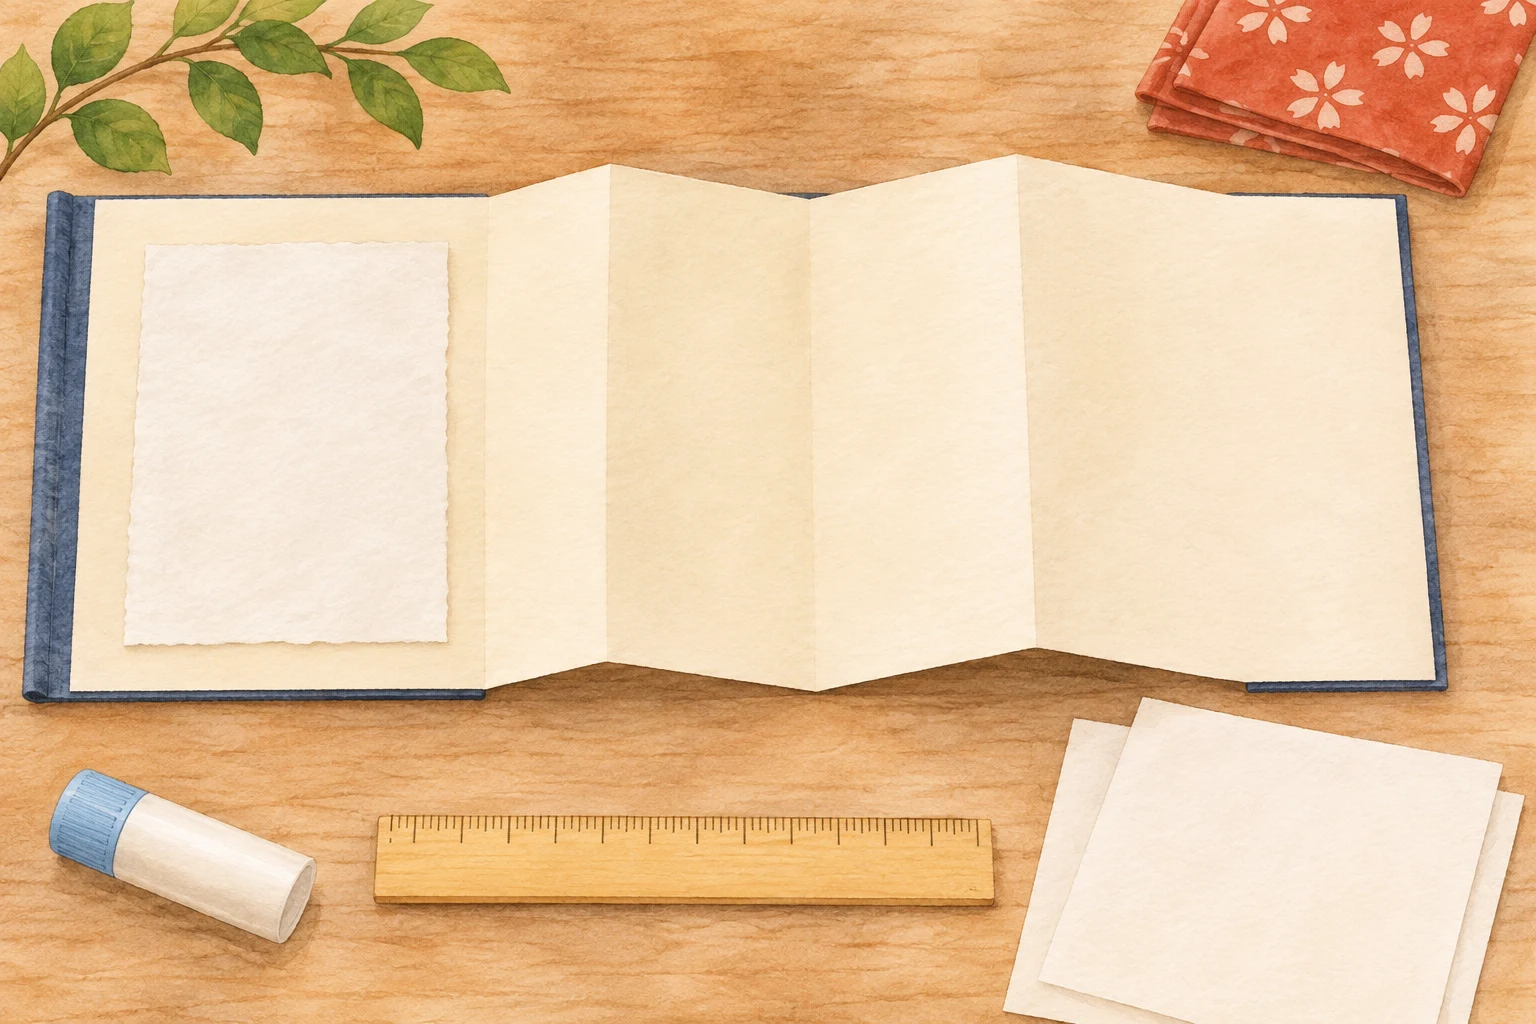
Start by comparing the sheet with your book and positioning it without adhesive. Mount it only when it fits comfortably and you can choose an adhesive suited to the paper. For uncertain materials, oversized sheets or paper-cut work, keeping the sheet unglued is also an option.
Before mounting: check size, orientation and the paper
The guidance from Ujigami Shrine (宇治上神社) describes colored-paper goshuin that recipients mount themselves. This does not make every separate sheet the same material or require one adhesive method. Read any instructions supplied with the sheet or backing first.
Compare the sheet’s height and width with the usable page surface. Check where it sits relative to edges and accordion folds, rather than relying on the book’s outer dimensions. Confirm the front, back and orientation before adding adhesive.
Check that ink and seals are dry, and whether the sheet is thin washi, glossy, transparent, embroidered or otherwise unusual. Do not try ordinary-paper adhesive simply because you cannot identify the material. Ask the issuing site or relevant manufacturer; the sheet can remain unglued meanwhile.
Position the paper before opening the glue.
Check size, orientation and the book’s folds while everything is still unglued. Then decide whether to mount or store it.
- Size
- Does it fit inside the page?
- Material
- Check thin paper, coatings or cut-outs
- Adhesive
- Can you confirm a suitable product?
Choose by the paper and product conditions, rather than a universal winner
The steps below use a paper glue stick as an example only after its suitability has been checked. They do not establish compatibility with every washi, ink, seal pigment or coated sheet. Follow the product’s instructions for application and pressure.
Tombow explains that moisture in liquid glue can make paper fibers expand and wrinkle. More liquid glue does not necessarily give a neater result. Its PiT Air tape-glue instructions also warn that paper can tear or be caught up depending on the paper and application. A tape dispenser is not automatically safe for thin sheets.
The manufacturer notes that some coated or rough papers and folded areas can be difficult to bond. Practising the operation on expendable paper does not prove that adhesive will be harmless to the ink and seals on your actual sheet.
PiT Air carries an ACID FREE statement about reducing oxidation-related discoloration. That is not a guarantee for the whole goshuin or its adhesion over many years. Likewise, check removable glue and double-sided tape by intended use, compatible materials and cautions, rather than their names alone.
Five steps: from positioning to the final check
Prepare a clean work area
Use a dry, clean surface, your book, a suitable paper adhesive and clean scrap paper underneath. Avoid rubbing the ink or seals. Do not continue with adhesive if the material or dryness is uncertain.
Position the sheet without adhesive
Place it face up on the chosen page. Check orientation, margins and folds. If it does not fit, choose storage instead. The diagram below shows placement only; it does not specify dimensions or where to apply glue.
Placement diagram: the outer rectangle is the page; the inner rectangle is the loose sheet. Leave room around it. Not to scale. Apply adhesive to the back as instructed
This assumes the surface is dry and the adhesive is suitable for the paper. Use clean scrap paper underneath and apply evenly to the back. Tombow advises against extending a glue stick too far and describes working outward at paper edges. Avoid excess that spreads beyond the sheet or forceful rubbing along its edges.
Align and gently bring the surfaces together
Recheck the intended position and follow the product’s instructions for pressure. Do not rub the ink or seals, or pull hard on the sheet to reposition it.
Check drying and adhesion before closing
Do not immediately place the next page against it. Follow the adhesive’s waiting instructions; there is no universal number of minutes. Check for exposed adhesive, tackiness or lifted edges before closing. If it is misplaced or starts lifting, do not force it off or apply water or heat. Consult the manufacturer where needed.
Double-page, oversized and paper-cut formats: consider the fit first
Place a wide sheet on the intended two pages without adhesive. Check the center fold and any parts that move as the book opens. If mounting would join independently moving pages, consider storage intended for a wide sheet instead.
We do not recommend cutting through lettering or seals to make a sheet fit. This guide also avoids making folding a requirement: choose storage large enough to keep the paper flat. Some product descriptions mention trimming or folding, but we do not apply that instruction to every received sheet.
For paper-cut or translucent work, consider the possibility of visible adhesive or strain on delicate areas. Follow the supplied backing, sleeve and fixing instructions. If these are unclear, leave it unglued. Do not apply an ordinary-paper method automatically to transparent, embroidered or dimensional formats.
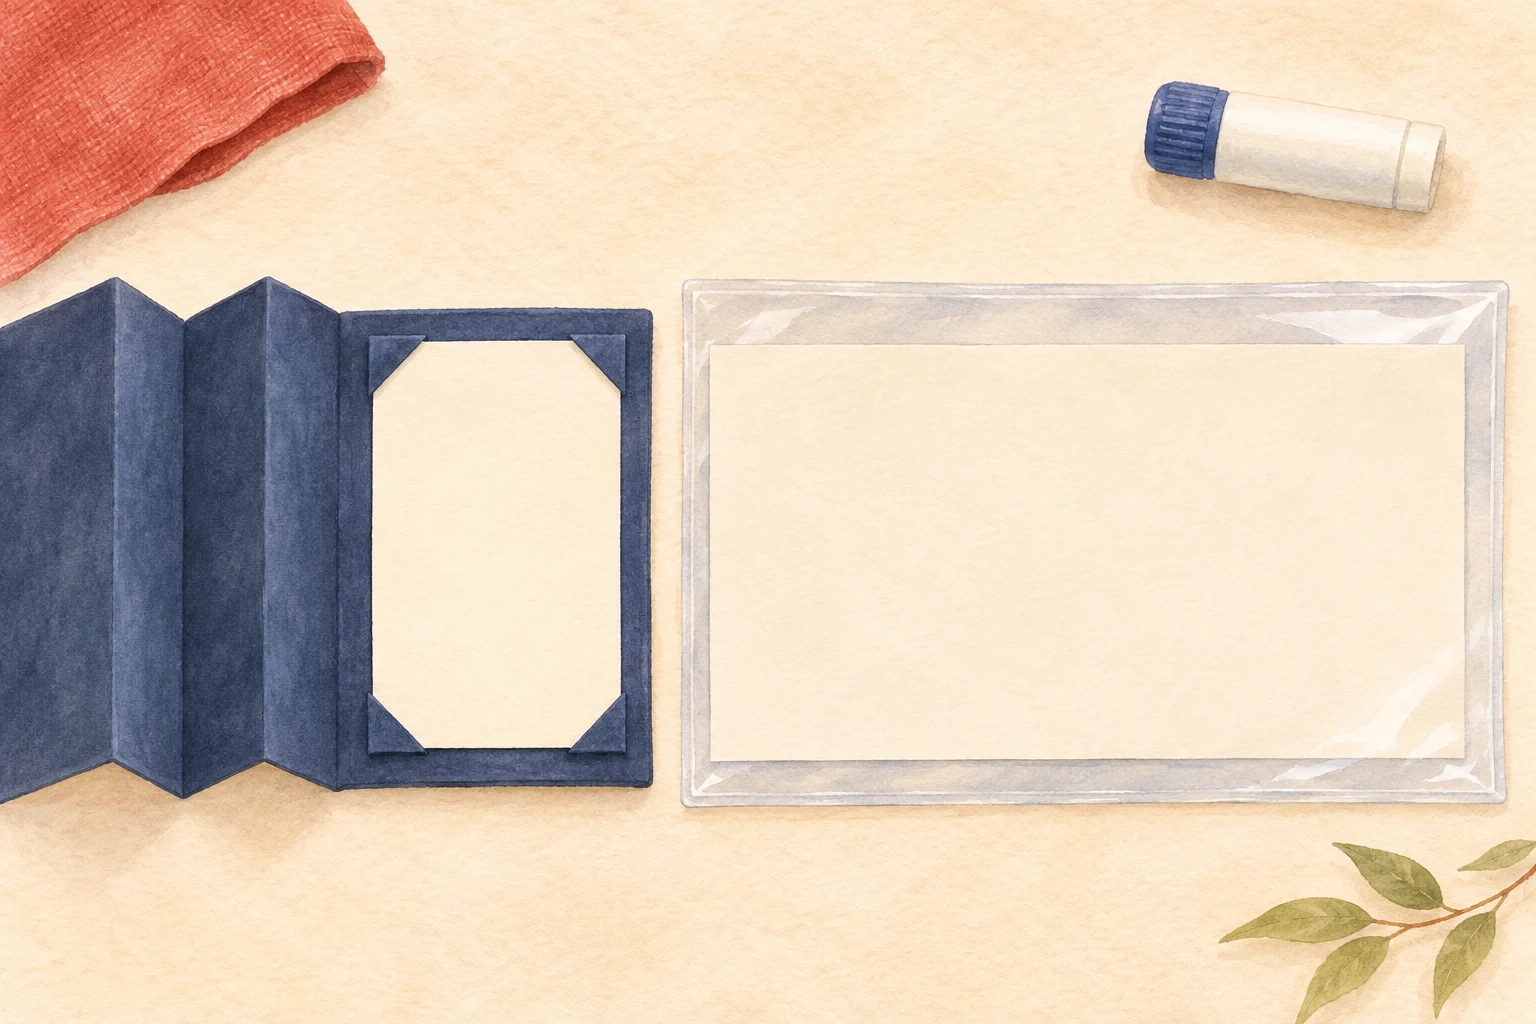
Leaving it unglued is an option.
- Check the usable dimensions and corner-slot positions.
- Distinguish storage albums from books for direct writing.
- Choose larger storage rather than cutting a sheet to fit.
Glue-free storage and what to check before choosing it
Options include corner-slot albums and pocket files. Check the opening, usable internal dimensions, thickness capacity and ease of insertion. Choose something that accepts the sheet without forcing its edges.
Taniguchi Shoyudo’s Seigaiha kakioki album is one example: the four corners slide into slots, allowing sheets to be moved without glue. The manufacturer describes support for double-width sheets and says not to use it for direct writing. This does not mean every sheet fits; distinguish the album’s outside measurements from its usable capacity.
Once the sheet is stored, check that it can be handled without rubbing its ink or seals. Long-term preservation needs separate consideration. For today’s task, aim to keep the record accessible without forcing adhesion or cutting it.
Official sources checked
- Tombow: using a glue stick
- Tombow: why liquid glue can wrinkle paper
- Tombow: PiT Air instructions and cautions
- Tombow: materials that can be difficult to bond
- Taniguchi Shoyudo: Seigaiha kakioki album
- Ujigami Shrine: goshuin
Shrine and manufacturer sources were reviewed. Illustrations and the blank-paper diagram are explanatory; no adhesive comparison, work with an actual goshuin or new photography was carried out. Check adhesive compatibility and drying conditions for the specific paper and product.